

So you want to know what our split system aircon installation Brisbane involves.
Luckily, you’ve come to the right place to find out.
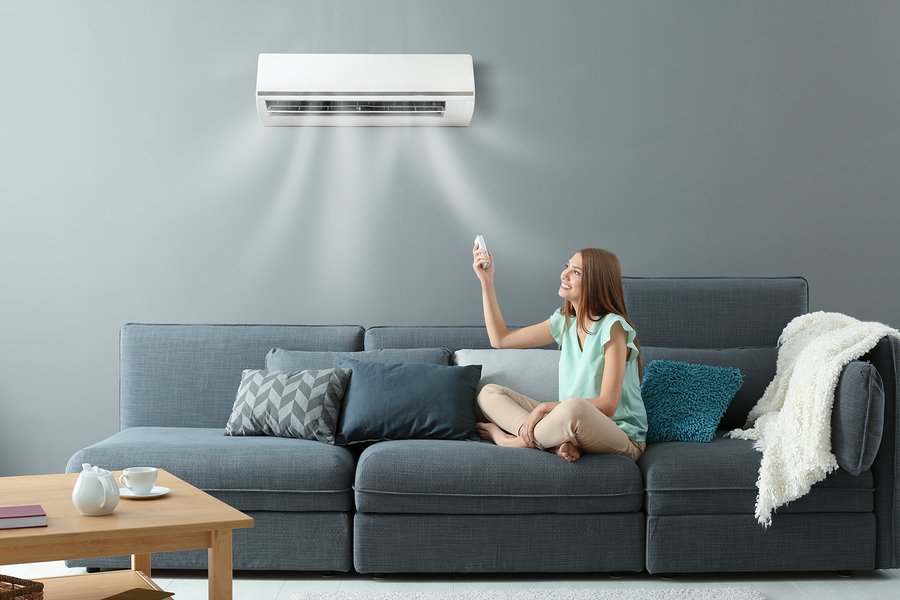
When it comes to air conditioning in Brisbane, split systems are the most popular option, hands-down thanks to their:
- Lower up-front cost
- Ease-of-installation – split system installation can be completed in a single day
- Convenience and flexibility
Of course, while they’re more straightforward than ducted air conditioning, split system installation is still a lot of work.
What sort of work are we talking about? We’re glad you asked – if you want to learn more about the installation process, we suggest you read on…
How getting the groundwork right can help you keep your home comfortable
This step is just as important as the installation itself, and normally requires a home visit!
Your installer will first evaluate your home, focusing on:
- Vent locations
- Sunlight
- Load-bearing walls
- Air ducts
- Where your supports are located
- Ceiling space
Each of these helps your installer determine the most suitable spot for your air conditioning system.
After this, they will perform system design to determine the most suitable air conditioner for your cooling needs and budget.
Curious how powerful your split system air conditioner will have to be? Use our handy calculator to figure your cooling needs.
And if you have an old air conditioner that needs replacing, they’ll include that in your quote as well.
Once they’ve put together a proposal and you’ve accepted, we can schedule the installation.
The 5 installation steps
Step 1: Fix the mounting bracket
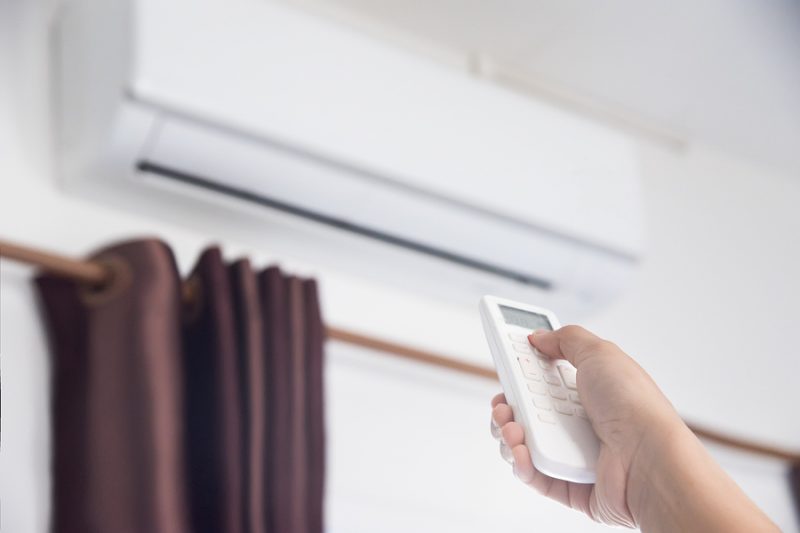
Like the name suggests, split systems are made up of two separate systems: one indoors, and one outdoors.
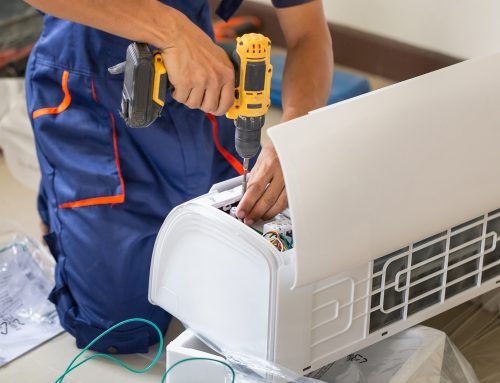
The first step in installing a split system air conditioner is the indoor unit.
Using the information uncovered during the groundwork inspection, your installer will secure the mounting bracket to your interior wall. This is what will hold up your air conditioning unit.
Step 2: Will there need to be drilling?
Once the bracket is in place, the next step is to carve a hole in your wall.
The hole we carve during this step is essential, as this is how we connect your indoor unit to your outdoor condenser.
Specifically, your installer will run:
- Electrical wiring between the inside and outside
- Drainage lines designed to remove excess moisture
- Tubing that delivers cool air from your outdoor condenser to your inside unit
Step 3: Run the wiring
Your air conditioner installer will run all the necessary piping and wiring through the freshly-drilled hole, tying them together with electrical tape and sheathing them in a protective PVC tube.
Incidentally, this is why air conditioning installers generally prefer installing indoor units on exterior walls. By minimising the physical space between both units, we’re able to dramatically speed up installation and bring down your installation quote.
However, there are some cases where this might not be feasible. For example, if your indoor unit is mounted on an interior wall – in these cases, we might run your wiring and piping through your ceiling.
Don’t worry, all air conditioner installers are required by law to hold restricted electrical licenses. This covers most of the wiring work that occurs during air conditioning installation.
As a result, we’re able to offer significantly more comprehensive electrical solutions than others!
The Tri-Tech team takes this one step further. Unlike other installers, we operate a fully-licensed electrical division.
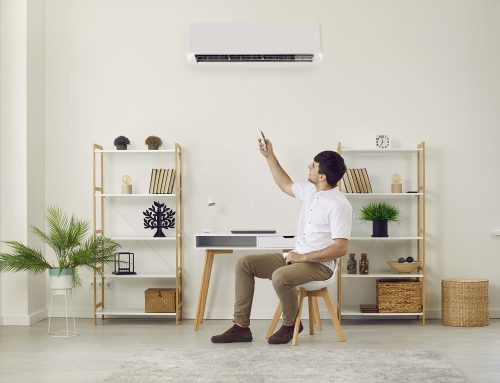
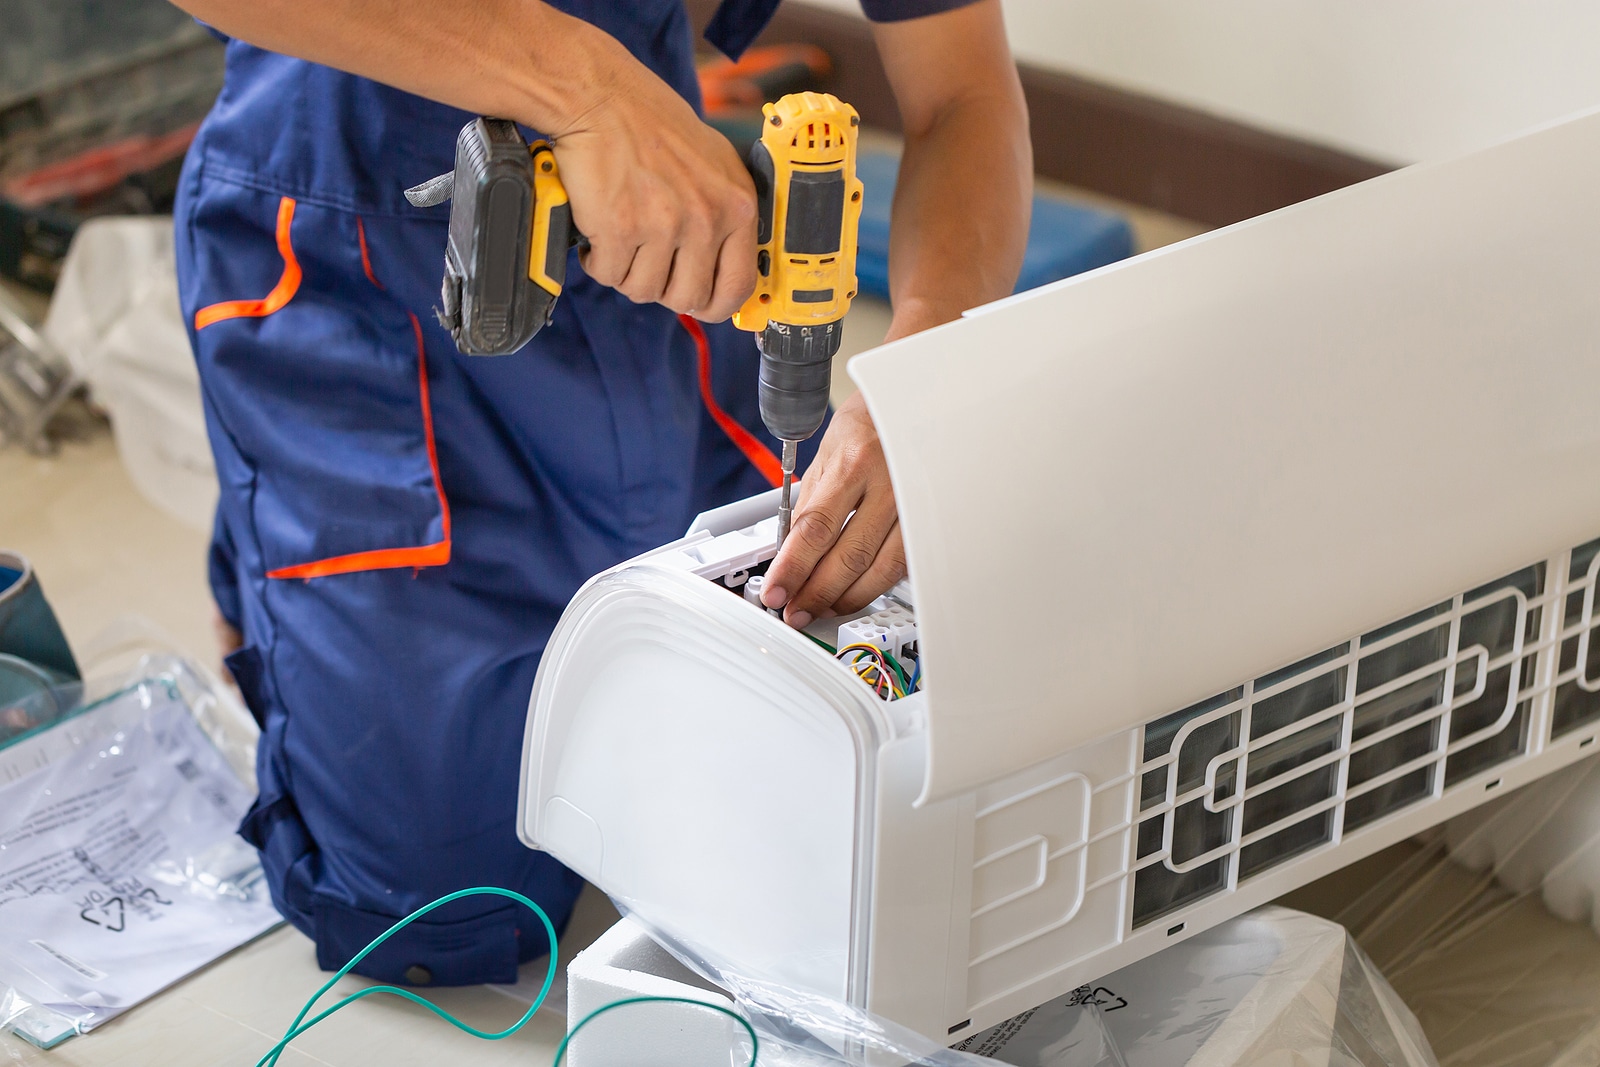
Step 4: Secure the indoor unit to the wall
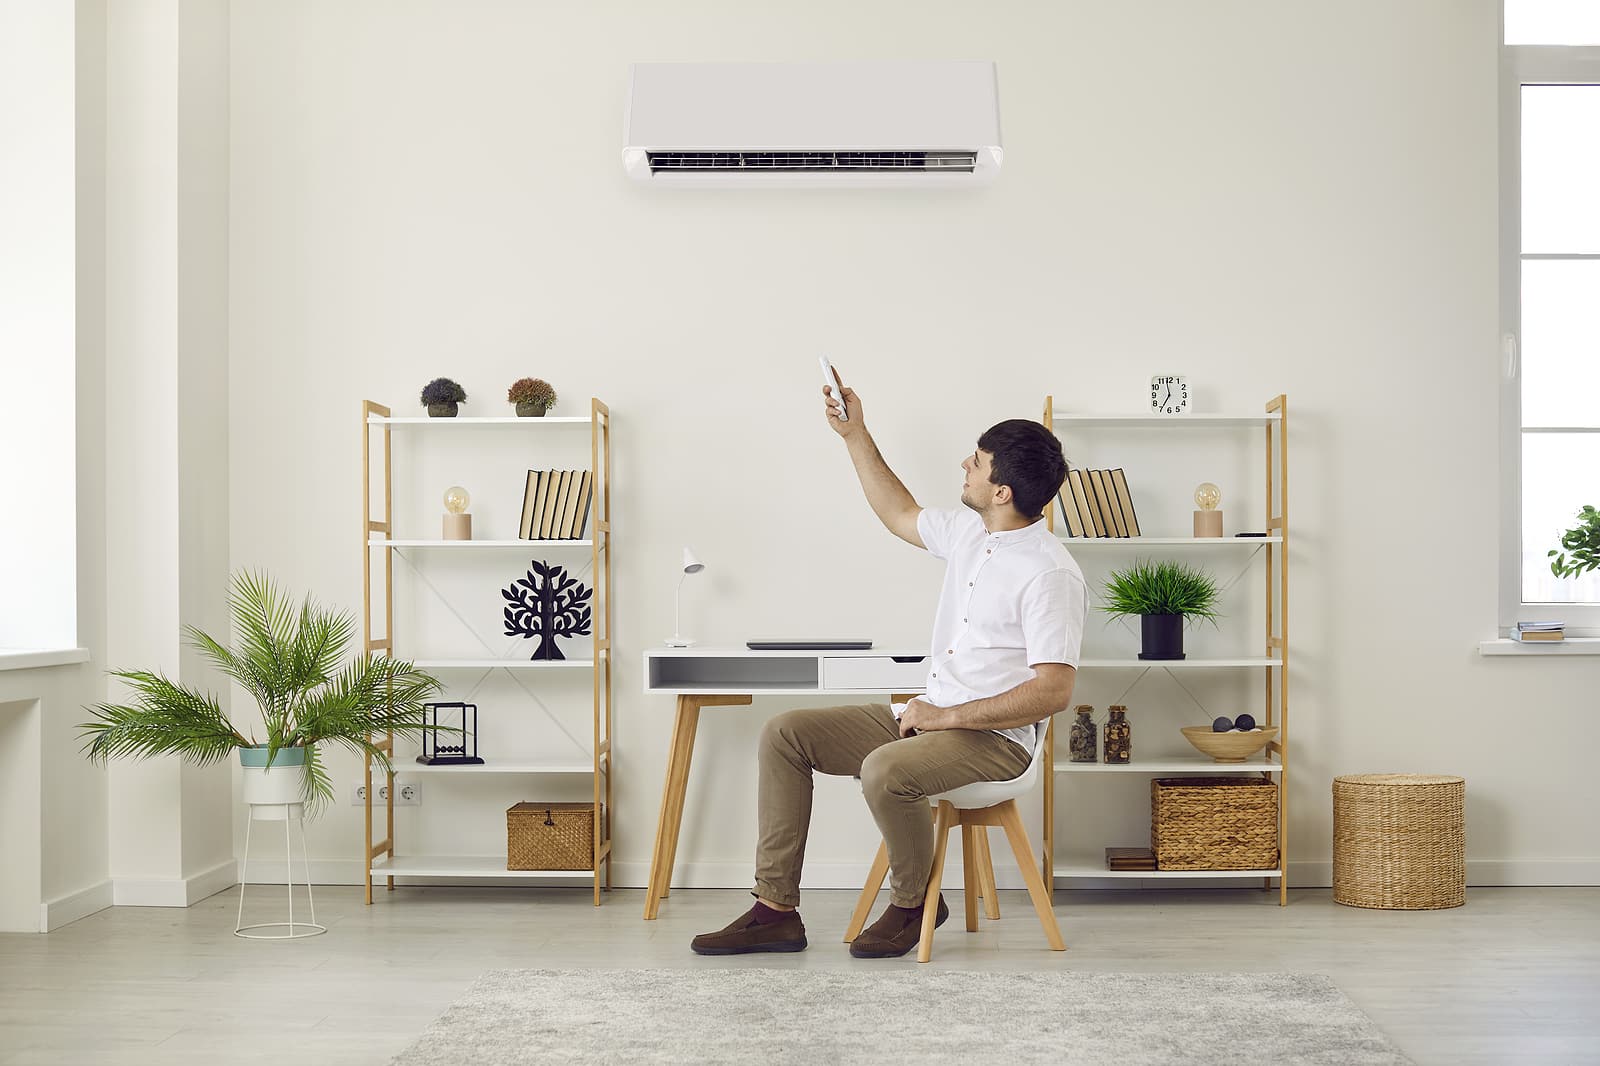
Once the mounting is in place, it’s time to place your indoor unit.
Think of it like connecting two Lego pieces together, except much, much stronger – all it takes is a solid push to lock your indoor unit into position!
Once your unit is secure, your installer will connect the pipes and wiring from step three to the back of your indoor unit.
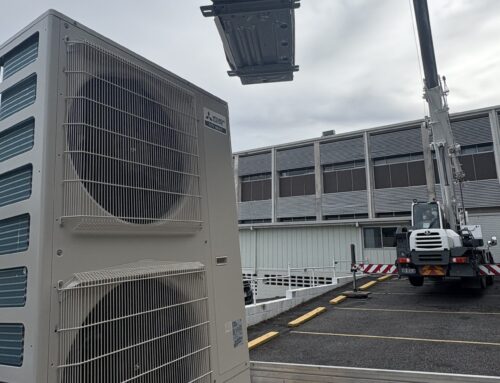
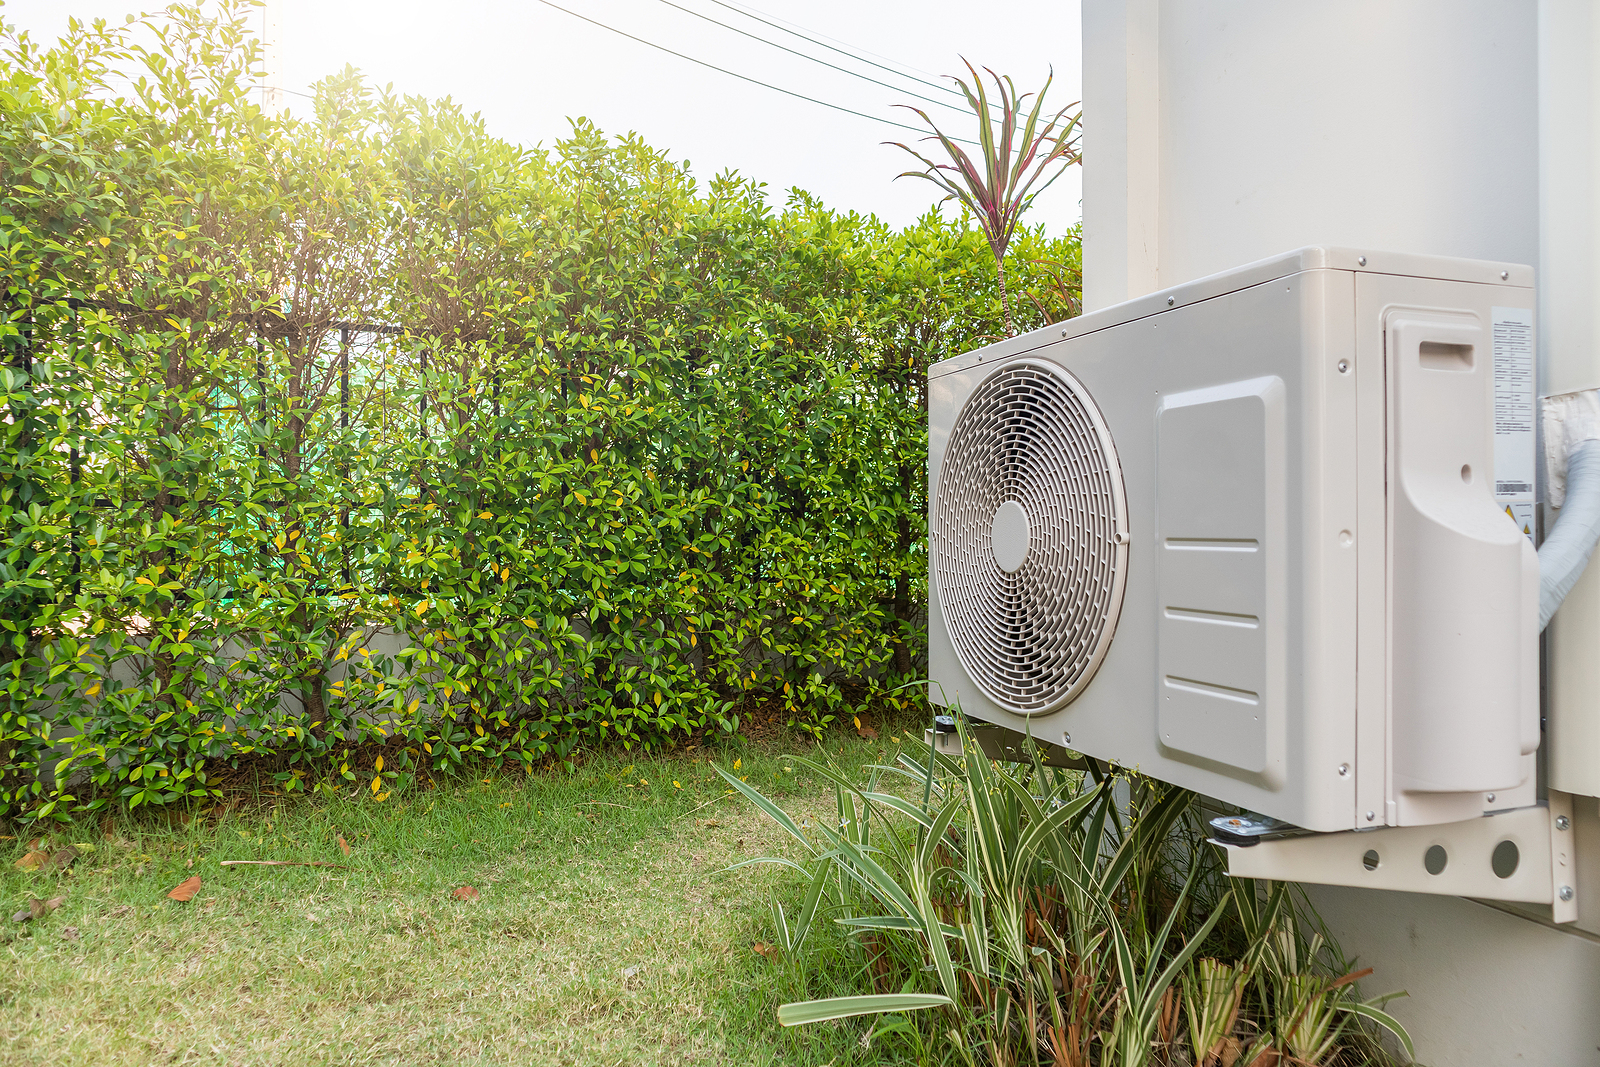
Step 5: Take it outsideL install the outdoor condenser
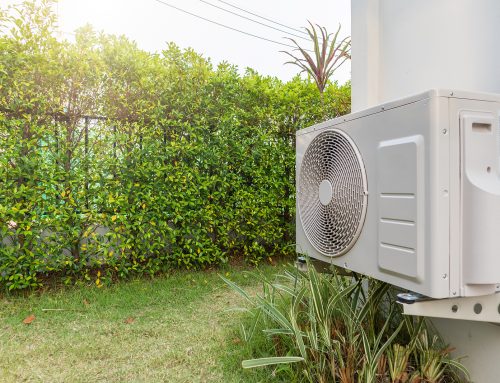
We won’t go into too much detail about how it works, but essentially, all you need to know is that the outdoor unit is what does all the heavy lifting. It takes warm air from outdoors and converts it into cool air for you to enjoy.
For ground-level rooms, your technician will secure your outdoor condenser to the ground.
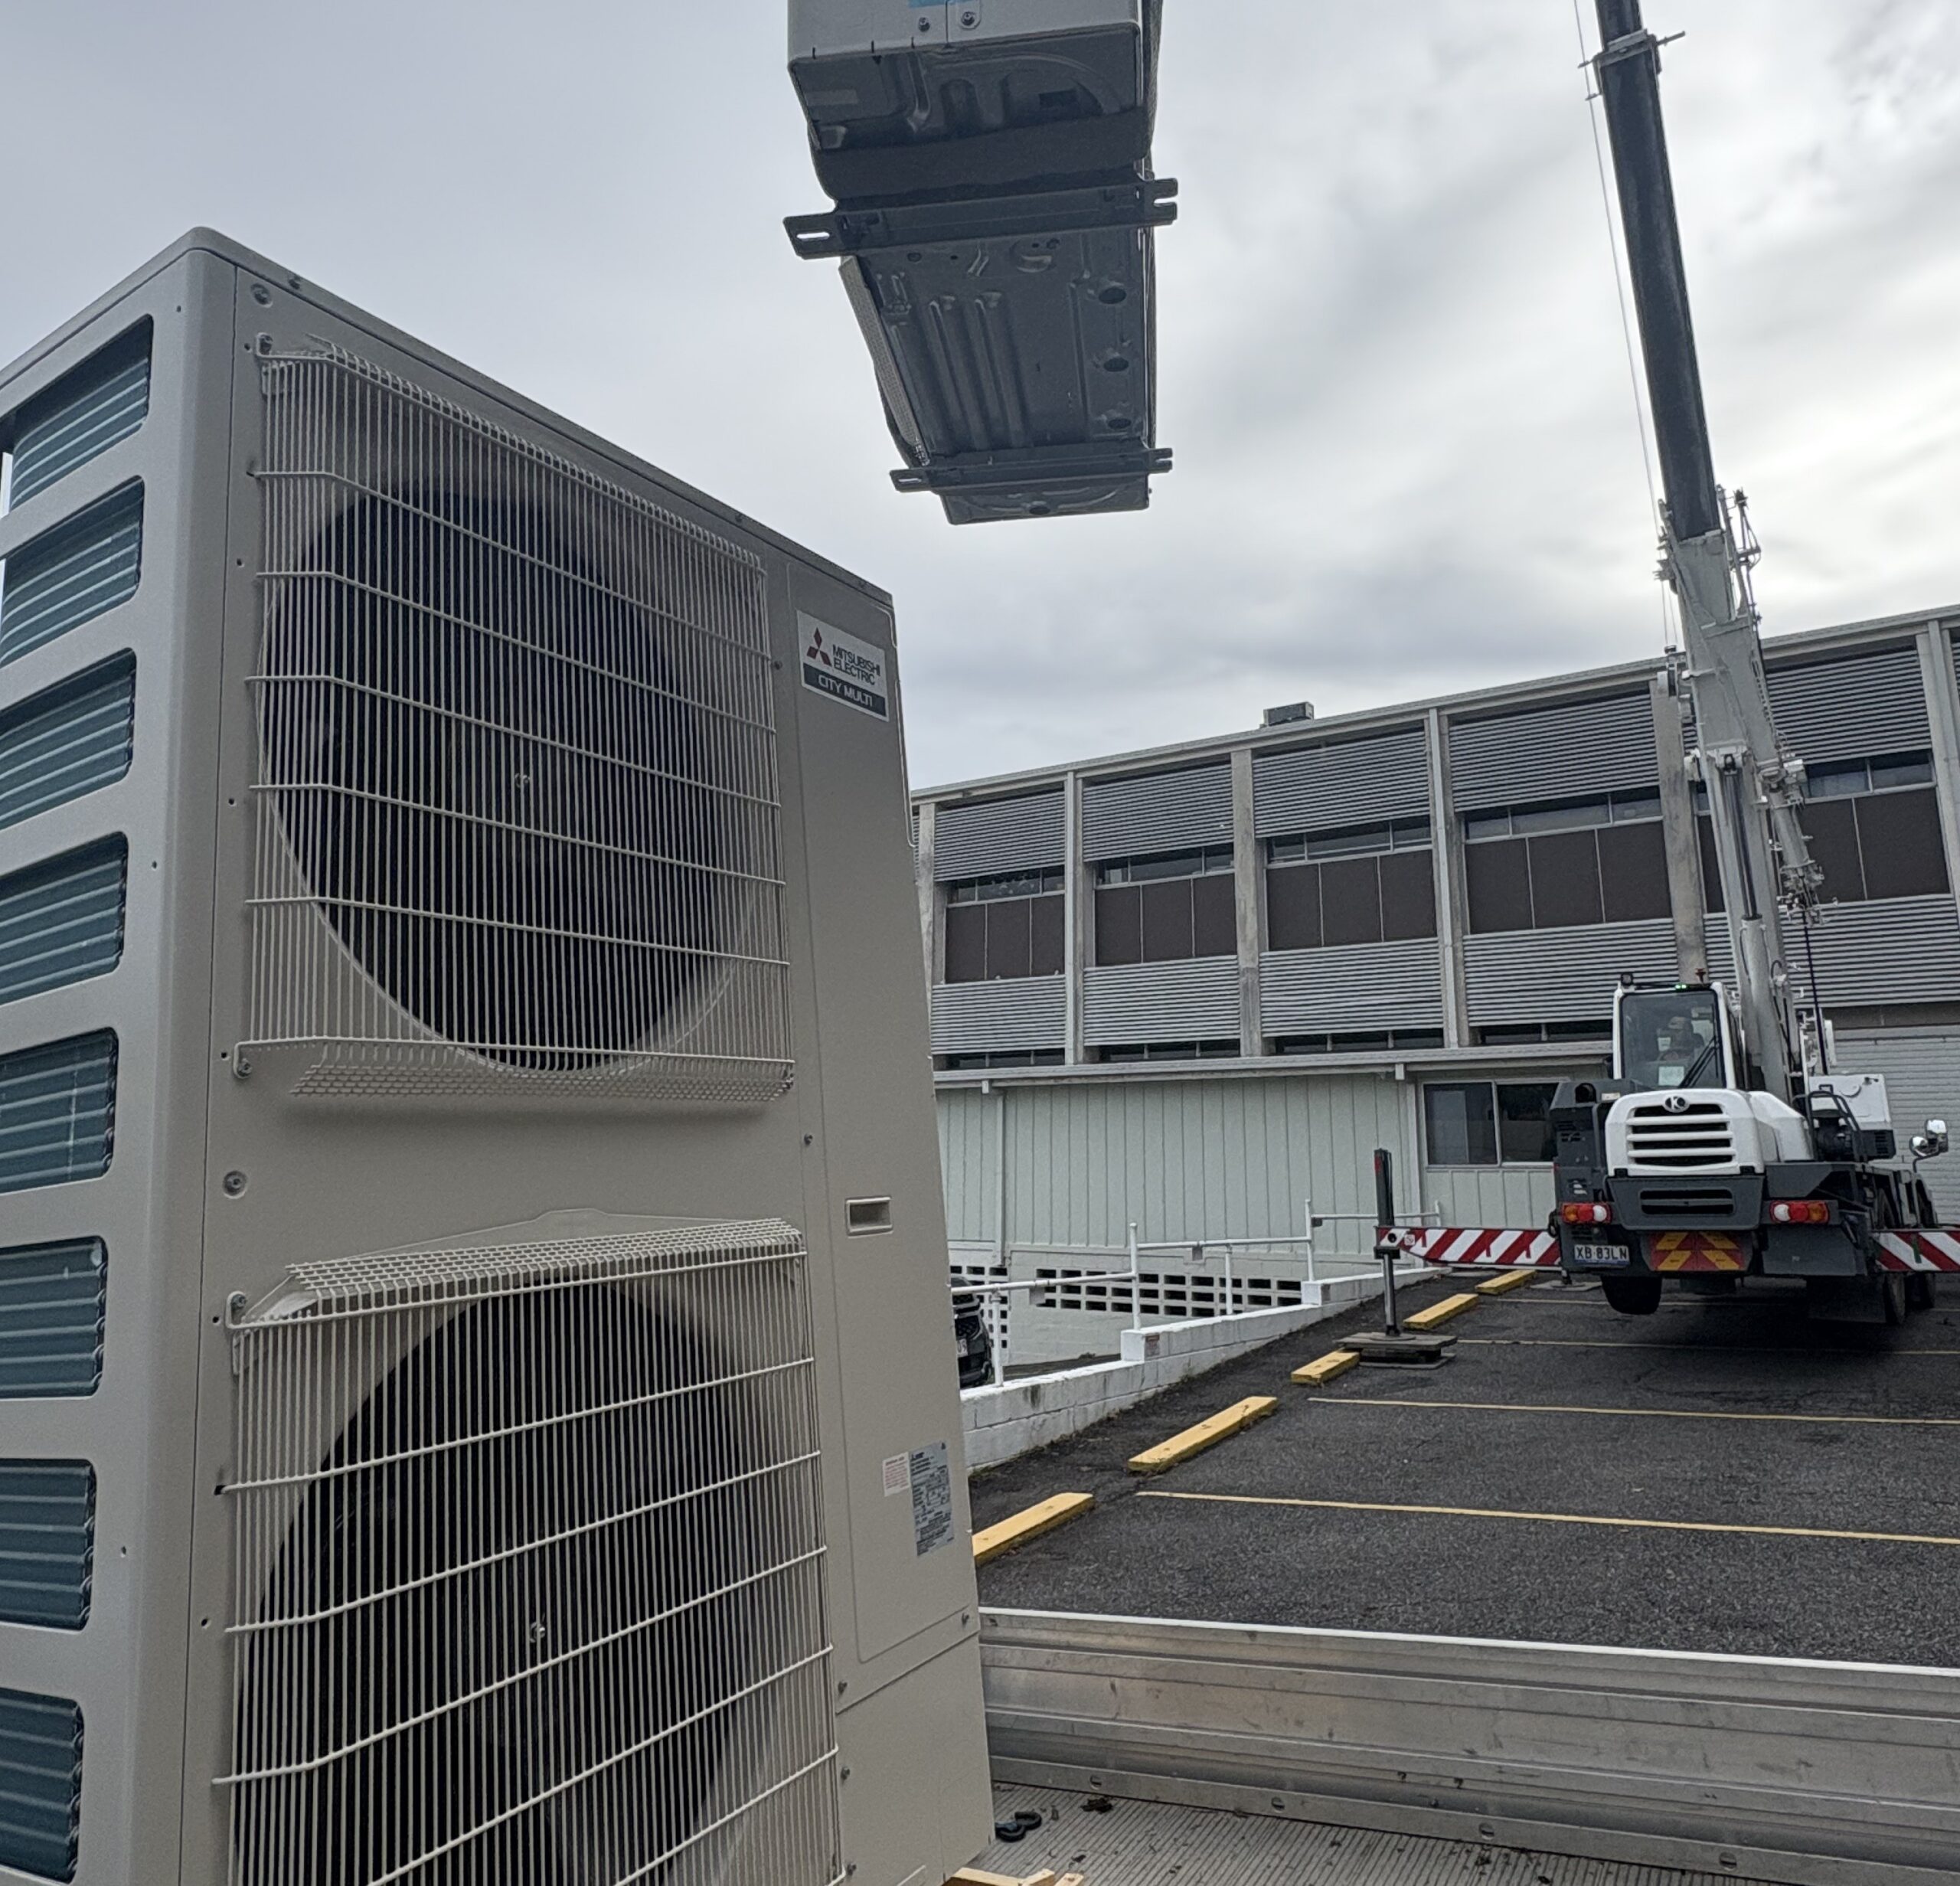
For second-story rooms, they’ll secure the outdoor unit using a secure mounting bracket, similar to the one used for the indoor unit.
Once the outdoor unit is secure, your installer will get to work connecting both halves.
And that’s it – installation of your split system is done!
Learn how you can make your outdoor condenser fit in seamlessly with your home.
Get your air conditioning installed by a professional
Hopefully this crash course in air conditioning installation has helped set your mind at ease.
We understand that it’s difficult to entrust your home to a stranger. When you call Tri-Tech Air Conditioning however, you can be confident that your home is being treated with the utmost care and diligence.
Operating since 1989, we’ve installed air conditioning systems for a wide range of buildings, from elite private schools, to hospitals and homes of all sizes.
Our mobile tech team treats your home with the utmost care. We perform thorough inspections to ensure you’re receiving the optimum air conditioning arrangement for your home.
We work quickly to minimise disruption and mess – you won’t know we were ever there.
Get in touch with our team of professionals for air conditioning Brisbane.
Give Tri-Tech a call today on (07) 3394 0222 to enquire about split system air conditioning. Alternatively, click here to get a free quote!
